
If there are two desserts that hold an undisputed place in the hall of fame of comfort sweets, they are the classic New York-style cheesecake and the humble, nostalgic sugar cookie. But what happens when you collide these two titans of the dessert world? You get the Sugar Cookie Cheesecake—a decadent masterpiece featuring creamy layers and cookie dough bites that creates a symphony of texture and flavor.
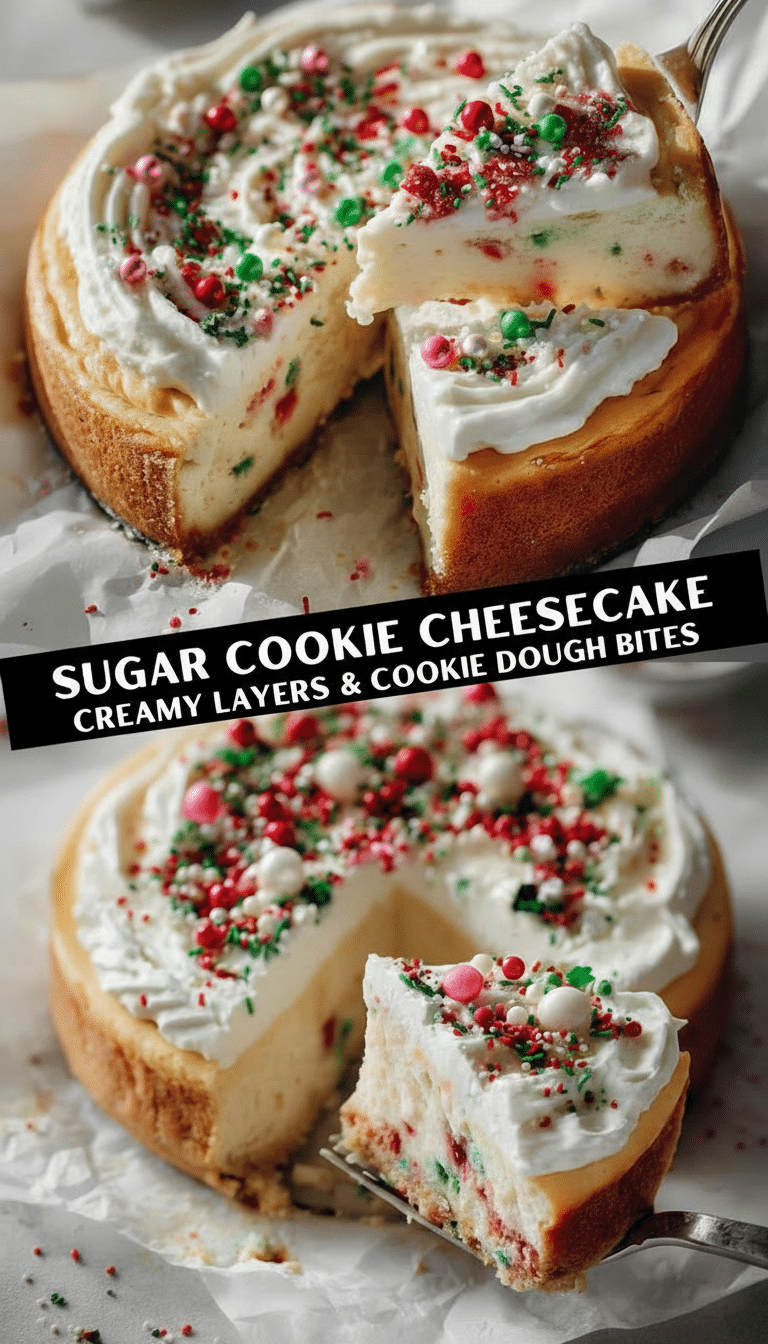
Looking at the inspiration for this guide—a stunning, festive cheesecake studded with red and green sprinkles and topped with billowy whipped cream—it is clear that this isn’t just a cake; it is a centerpiece. whether you are planning a holiday dessert table or simply craving a high-end treat at home, this guide will walk you through every nuance of creating the perfect Sugar Cookie Cheesecake.
Why This Dessert Works: The Science of Flavor and Texture
Before we dive into the mixing bowl, it is essential to understand why this specific combination works so well. A traditional cheesecake is tangy, dense, and creamy. A sugar cookie is buttery, sweet, and carries notes of vanilla and almond.
When you combine them, the tang of the cream cheese cuts through the intense sweetness of the sugar cookie elements. Furthermore, the texture plays a massive role here. You have the crunch of the crust, the velvety smoothness of the filling, and the chewy resistance of the cookie dough bites hidden within. It is a sensory experience that keeps the palate engaged with every bite.
The Anatomy of a Sugar Cookie Cheesecake
To achieve the result shown in our inspiration image, we need to deconstruct the dessert into four distinct components:
- The Sugar Cookie Crust: Forget the standard graham cracker crust. We are going full sugar cookie here.
- The Edible Cookie Dough Bites: Small spheres of safe-to-eat dough scattered throughout the batter.
- The Creamy Cheesecake Filling: A vanilla and almond-infused batter that acts as the glue holding it all together.
- The Festive Topping: Stabilized whipped cream and seasonal sprinkles to mimic the look of a frosted sugar cookie.
Phase 1: The Foundation – The Crust
Most cheesecakes rely on graham crackers because they are dry and absorb butter well. However, for a Sugar Cookie Cheesecake, we want that distinct buttery vanilla flavor from the bottom up.
Ingredients for the Crust
- Hard Sugar Cookies: You can use store-bought crisp sugar cookies or homemade ones that have been baked until crispy.
- Unsalted Butter: Melted.
- Sugar: Just a touch, depending on the sweetness of the cookies used.
The Method
Pulse your cookies in a food processor until they resemble fine sand. Mix with melted butter until the texture is like wet beach sand. Press this firmly into the bottom and slightly up the sides of a 9-inch springform pan.
Pro Tip: Bake the crust alone for 8-10 minutes at 350°F (175°C). This “blind bake” prevents the crust from getting soggy once the wet batter is poured on top.
Phase 2: The Surprise – Edible Cookie Dough Bites
The star of the show in this Sugar Cookie Cheesecake is the inclusion of cookie dough bites. If you look closely at the slice in the image, you can see distinct pockets of dough and flecks of color inside the white filling.
Safety Warning: You cannot simply use raw dough because of the risk associated with raw flour and eggs. We must make “edible” dough.
Heat-Treating Your Flour
To make flour safe to eat raw, spread it on a baking sheet and bake at 350°F for 5 minutes, or until the internal temperature reaches 160°F. Let it cool completely before using.
Creating the Bites
Mix butter, sugar, heat-treated flour, a splash of milk (omit the eggs), vanilla extract, and almond extract. Fold in your festive sprinkles—red and green for Christmas, or pastel confetti for birthdays. Roll these into small, marble-sized balls and freeze them. Freezing is crucial; if they are room temperature when they go into the oven, they will melt into puddles rather than maintaining their shape inside the cheesecake.
Phase 3: The Filling – Achieving Creamy Perfection
The filling is where many home bakers get nervous, but the secret to a lump-free, crack-free creamy cheesecake filling is patience and temperature.
The Golden Rule: Room Temperature Ingredients
This cannot be overstated. Your cream cheese, sour cream, and eggs must be at room temperature. If you use cold cream cheese, it will not blend smoothly, leaving you with tiny white lumps in your batter. If you overbeat the batter trying to get rid of those lumps, you introduce air bubbles, which leads to cracks.
The Flavor Profile
To mimic the taste of a sugar cookie, we adjust the standard vanilla cheesecake recipe:
- Cream Cheese: Full-fat blocks (brick style), not tub spreads.
- Sugar: White granulated sugar keeps the color pale and clean.
- Flavor Extracts: Use a high-quality Vanilla Bean Paste for those lovely black specks, and add 1/2 teaspoon of Almond Extract. Almond is the “secret” flavor that makes bakery sugar cookies taste so distinct.
- Sour Cream: Adds moisture and a slight tang to balance the sugar.
Mixing the Batter
- Beat the cream cheese and sugar on low speed until smooth. Scrape the bowl constantly.
- Add sour cream and extracts.
- Add eggs one at a time, mixing just until the yolk disappears. Do not overmix.
- The Assembly: Pour half the batter over the cooled crust. Scatter half of your frozen cookie dough bites. Pour the remaining batter over the top and smooth it out. Press the remaining dough bites gently into the surface (but not too deep, or they will sink to the bottom).
Phase 4: The Bake – Water Baths and Cooling
The image shows a cheesecake with a perfectly flat surface and creamy texture, devoid of the dreaded “cheesecake canyon” crack down the middle. This is achieved through a water bath.
The Water Bath Technique
Wrap the bottom of your springform pan in multiple layers of heavy-duty aluminum foil (or use a silicone slow-cooker liner which fits perfectly around pans). Place the springform pan inside a large roasting pan. Fill the roasting pan with boiling water until it reaches halfway up the side of the cheesecake pan.
The water creates steam, keeping the oven moist and cooking the cheesecake gently and evenly.
The “Low and Slow” Cool Down
Sudden temperature changes cause cracks. Once the cheesecake is set (the edges are firm but the center wobbles slightly like Jell-O), turn the oven off. Crack the oven door open about an inch and let the cheesecake sit in the cooling oven for one hour.
After an hour, remove it to a wire rack to cool completely to room temperature, then refrigerate for at least 6 hours, preferably overnight.
Phase 5: Decoration – The “Frosting” on the Cake
A sugar cookie isn’t complete without frosting, and neither is a Sugar Cookie Cheesecake.
Looking at our inspiration image, the topping is generous. We aren’t just doing a thin layer; we are piping distinct swirls.
Stabilized Whipped Cream
Regular whipped cream can weep (release water) after a few hours. For a cheesecake that needs to hold up in the fridge, use stabilized whipped cream.
- Ingredients: Heavy cream, powdered sugar, vanilla, and a stabilizing agent (gelatin, skimmed milk powder, or a commercial stabilizer like “Whip It”).
- Technique: Whip until stiff peaks form. Transfer to a piping bag with a large star tip (like a Wilton 1M).
Pipe a border of large rosettes around the edge of the cheesecake, or cover the entire top depending on your preference.
The Final Sparkle
Just before serving, shower the top with the same sprinkles used inside the cookie dough bites. The image utilizes holiday nonpareils and pearls (red, green, and white). The crunch of the sprinkles adds a delightful contrast to the soft whipped cream.
Serving and Storage
How to Slice the Perfect Piece
Cheesecake is dense and sticky. To get that sharp, clean cut shown in the image where the layers are distinct and the filling isn’t smeared:
- Fill a tall pitcher with hot water.
- Dip a long, sharp knife into the water.
- Wipe the blade dry with a clean towel.
- Make one cut.
- Repeat the dip-wipe process for every single cut.
Storage
This cheesecake can be stored in the refrigerator, covered loosely, for up to 5 days.
Can you freeze Sugar Cookie Cheesecake? Absolutely. In fact, it freezes beautifully. You can freeze the whole cake (without the whipped cream topping) or individual slices. Wrap tightly in plastic wrap, then foil. Thaw in the refrigerator overnight before decorating and serving.
Variations on a Theme
While the red and green sprinkles make this the ultimate Christmas dessert, the Sugar Cookie Cheesecake base is a chameleon.
- Easter: Use pastel egg sprinkles and swap the almond extract for lemon zest for a fresh spring twist.
- Birthday Cake: Use rainbow confetti sprinkles (jimmies work best as they don’t bleed color) and add a teaspoon of “cake batter flavoring” to the filling.
- Halloween: Use orange and black sprinkles and use crushed chocolate sandwich cookies (golden variety) for the crust.
Troubleshooting Common Issues
Even with the best guide, things can happen. Here is how to save your dessert:
- The Crack: If your cheesecake cracks despite the water bath, don’t panic. The whipped cream topping is your best friend. Simply cover the entire top surface with a thick layer of cream. No one will know!
- Soggy Crust: This usually happens if water seeps into the foil during the water bath. Ensure you use extra-wide heavy-duty foil, or place the springform pan inside a slightly larger cake pan, and put that pan in the water bath.
- Underbaked Center: If the center looks like liquid soup rather than a wobble, bake it longer. Every oven is different. Trust the visual cue (matte surface, slight wobble) over the timer.
Conclusion
The Sugar Cookie Cheesecake is more than just a dessert; it is a celebration of textures. It combines the buttery nostalgia of childhood baking with the sophisticated, creamy elegance of a fine dining pastry. By layering a sugar cookie crust, velvety almond-infused cheesecake, and chewy cookie dough bites, you create a treat that is visually stunning and incredibly delicious.
Whether you are baking for the holidays or simply want to challenge your culinary skills, this cheesecake promises to be the star of your table. So, preheat your oven, grab your sprinkles, and get ready to slice into the most festive, creamy, and indulgent dessert you will make this year.