
Ever heard whispers of a mysterious “salt trick recipe” used by chefs to create unbelievably moist and flavorful dishes? It sounds like kitchen magic, but it’s a real, accessible, and incredibly effective technique: salt crust baking. If you’re looking to elevate your cooking, impress your guests, and master a method that guarantees succulent results, you’ve come to the right place.
This comprehensive guide will demystify the salt trick recipe, showing you exactly how to harness the power of a simple salt crust to cook fish, chicken, and vegetables to perfection. Forget dry, overcooked meals – let’s unlock the secrets to ultimate flavor and moisture!
What Exactly is the “Salt Trick Recipe”? Unpacking Salt Crust Baking
While it might sound like a gimmick, the “salt trick recipe” is simply the colloquial term for salt crust baking. It’s an ancient cooking method where the main ingredient (like a whole fish or chicken) is completely encased in a dough made primarily of salt (usually coarse salt) and egg whites or water before being baked.
This isn’t about making your food taste overwhelmingly salty! Instead, the hardened salt shell acts like a mini, custom-fit oven.
The Science Behind the Salt Shell
How does packing food in salt work its magic?
- Insulation: The dense salt crust provides incredibly even insulation, protecting the food from the direct, harsh heat of the oven. This prevents scorching and promotes uniform cooking.
- Steam Power: As the food heats up, its natural moisture turns to steam. The impermeable salt crust traps this steam inside, essentially steaming the food in its own juices. This is the key to the unbelievable moisture you get with this technique.
- Subtle Seasoning: While encased in salt, the food doesn’t become excessively salty. The crust absorbs some moisture from the food, but only imparts a very subtle, delicate seasoning. The skin of the fish or chicken often absorbs most of the saltiness and is usually discarded.
Why Use a Salt Crust? The Delicious Benefits
Employing this “salt trick recipe” offers several advantages:
- Unbeatable Moisture: This is the star benefit. Food cooks gently in its own steam, resulting in succulent, tender textures that are hard to achieve otherwise.
- Even Cooking: The insulating crust ensures the food cooks evenly from edge to center.
- Enhanced Flavor: The trapped steam intensifies the food’s natural flavors.
- Impressive Presentation: Cracking open the golden-brown salt crust at the table is a dramatic and fun reveal!
- Surprisingly Simple: Despite the impressive results, the basic technique is quite straightforward.
Ingredients You’ll Need for the Perfect Salt Crust
The beauty of the salt trick recipe lies in its simplicity. You only need a few key ingredients for the crust itself:
- Coarse Salt: This is crucial. You’ll need a large quantity (several cups or even pounds, depending on the size of your food).
- Egg Whites: These act as a binder, helping the salt form a hard, sturdy crust. Water can be used as a substitute, but egg whites generally create a harder shell.
- Water (Optional): A small amount might be needed to achieve the right consistency (like damp sand).
- Optional Flavorings: You can add fresh herbs (rosemary, thyme sprigs), citrus zest (lemon, orange), or whole spices (peppercorns, fennel seeds) to the salt mixture to infuse subtle aromas into the steam.

Choosing the Right Salt
Do NOT use regular iodized table salt! Its fine grains pack too densely, can make the crust overly hard, and might impart an unwanted iodine flavor. Opt for:
- Coarse Kosher Salt: Widely available and works perfectly.
- Coarse Sea Salt: Another excellent choice.
You’ll need a significant amount – typically 2-3 times the weight of the food you are encasing.
The Step-by-Step Salt Trick Recipe: Mastering Salt Crust Baking
Ready to try it? Here’s how to execute the salt crust baking technique:
(How-To Schema Markup Would Apply To This Section)
1: Prepare Your Main Ingredient
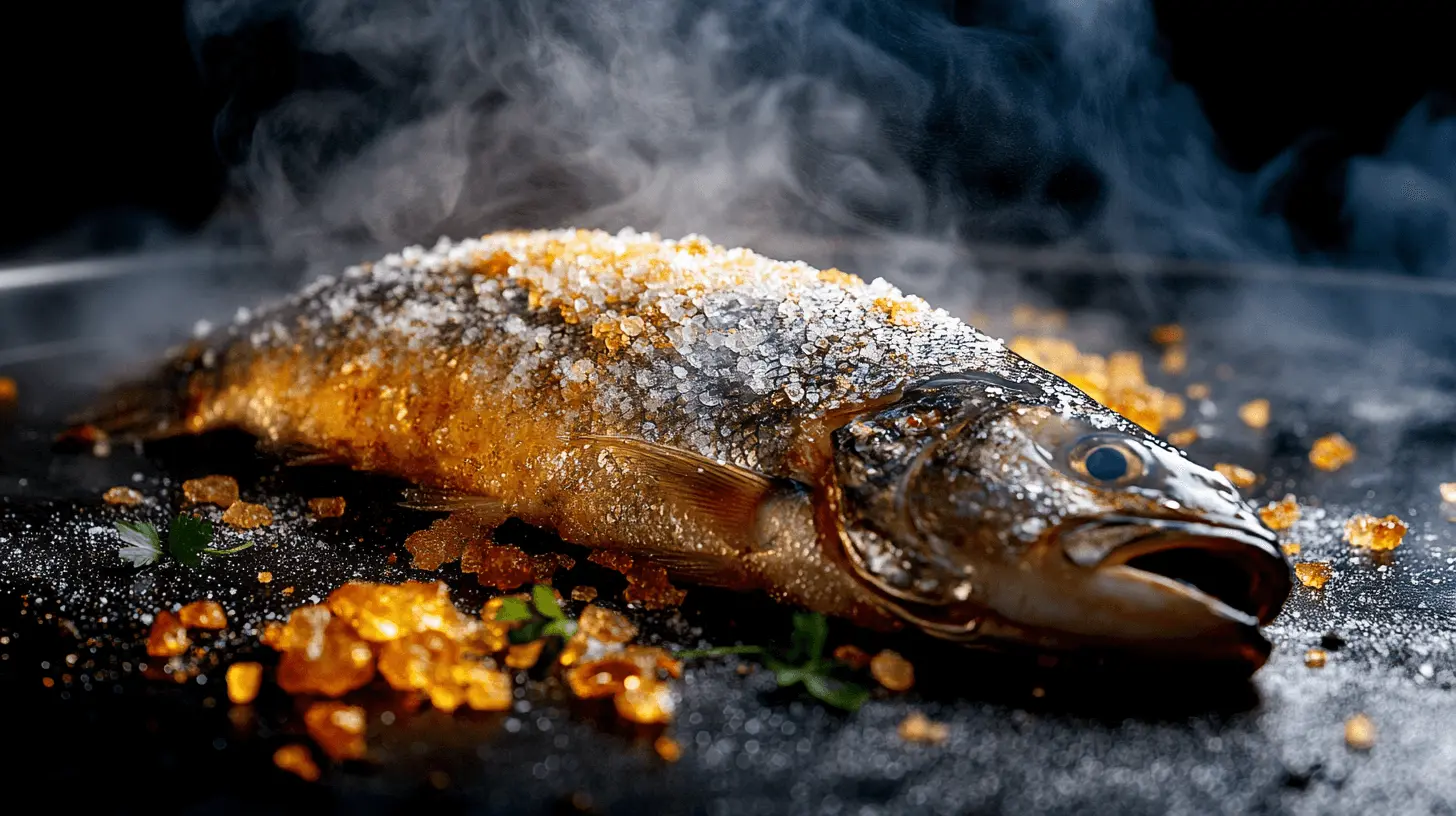
- Fish: Use a whole, gutted fish with scales on (scales provide an extra barrier against saltiness). Rinse and pat thoroughly dry. You can place herbs or lemon slices inside the cavity if desired, but do not salt the fish itself.
- Chicken: Use a whole chicken or bone-in pieces. Pat thoroughly dry. You can add aromatics inside the cavity. Do not salt the chicken.
- Vegetables: Use whole root vegetables like beets, potatoes, or celery root. Scrub clean but leave the skin on. Pat dry.
2: Mix the Salt Crust Dough
- In a very large bowl, combine the coarse salt, egg whites, and any optional flavorings (like chopped rosemary or lemon zest).
- Mix thoroughly, using your hands (wear gloves if you have cuts). Add a tiny bit of water only if needed to reach the consistency of damp sand – it should hold together when squeezed but not be wet or slushy. You’ll likely need around 6-8 cups of salt and 4-6 egg whites for a medium whole fish or chicken.

3: Create the Base Layer
- Spread a layer of the salt mixture (about 1/2 to 3/4 inch thick) onto a sturdy baking sheet lined with parchment paper. Make the base slightly larger than the food you’ll be baking.
4: Position Your Food
- Carefully place your prepared fish, chicken, or vegetables onto the center of the salt base.
5: Encase Completely in Salt Crust
- Cover the food entirely with the remaining salt mixture, patting it firmly to create a thick, even shell with no gaps or cracks. Ensure it’s fully sealed. The crust should be at least 1/2 inch thick all around.

6: Bake to Perfection
- Preheat your oven (typically around 400°F / 200°C, but follow specific recommendations for your chosen food).
- Carefully place the baking sheet in the oven.
- Baking Time: This varies greatly depending on the type and size of the food.
- Whole Fish (1.5-2 lbs): ~20-30 minutes
- Whole Chicken (3-4 lbs): ~60-75 minutes
- Root Vegetables: ~45-90 minutes (depending on size)
- Use a Thermometer: The most reliable way to check for doneness is inserting an instant-read thermometer through the crust into the thickest part of the food, avoiding bone.
- Fish: ~135°F (57°C)
- Chicken: ~165°F (74°C) in the thickest part of the thigh
- Vegetables: Tender when pierced
7: Rest and Crack Open the Crust
- Once cooked, carefully remove the baking sheet from the oven. Let the salt-encrusted food rest for 5-10 minutes. This allows the juices to redistribute.
- Using the back of a heavy spoon, a small mallet, or even a clean hammer, firmly tap the crust to crack it. Carefully lift away large pieces of the salt shell.

8: Serve and Enjoy
- Brush away any loose salt crystals from the surface of the food.
- For fish or chicken, you’ll likely peel away the skin (which absorbed most surface salt).
- Serve immediately, marveling at the moist, flavorful results of the “salt trick recipe”!
Best Foods for the Salt Trick Recipe
This technique works wonders on various foods:
Whole Fish
Snapper, Branzino, Sea Bass, Trout – leaner white fish work exceptionally well. The scales and skin protect the flesh.
Chicken
A whole chicken becomes incredibly succulent. Bone-in pieces like thighs also benefit.
Root Vegetables
Beets become sweet and tender, potatoes creamy, and celery root earthy and delicious.
Pro Tips for Salt Crust Success
- Seal Completely: Ensure there are no gaps in the crust, or steam will escape.
- Use a Thermometer: Don’t guess doneness – it’s the only reliable way.
- Don’t Salt the Food: The crust provides enough subtle seasoning.
- Let it Rest: Crucial for juicy results after cracking the crust.
- Cracking Technique: Be firm but careful not to smash the food underneath. Gently lift crust pieces away.
- Protect Your Surfaces: The salt crust gets very hard and hot. Handle carefully.
Common Salt Crust Mistakes to Avoid
- Using Table Salt: Results in a dense, potentially off-tasting crust. Stick to coarse kosher or sea salt.
- Not Sealing Properly: Allows moisture to escape, defeating the purpose.
- Crust Too Thin/Thick: Too thin might crack; too thick takes longer to cook through. Aim for 1/2 to 3/4 inch.
- Over/Undercooking: Rely on that thermometer!
- Salting the Food Beforehand: Will likely make the final dish too salty.
FAQs about the Salt Trick Recipe
(FAQ Schema Markup Would Apply To This Section)
Is the food salty after baking in a salt crust?
Surprisingly, no! If done correctly (using coarse salt, leaving skin/scales on, not salting the food itself), the food inside is perfectly seasoned and moist, not overly salty. The crust creates a barrier.
Can I reuse the salt crust?
No. The crust absorbs moisture and impurities from the food during baking and becomes hard and unusable. It must be discarded.
What kind of salt is best for the salt trick recipe?
Coarse Kosher salt or coarse sea salt are the best choices. Avoid fine-grained table salt, especially iodized salt.
How do I know when my food is cooked inside the salt crust?
The most accurate method is using an instant-read meat thermometer inserted through the crust into the thickest part of the food (avoiding bone). Refer to safe internal temperatures for fish (around 135°F/57°C) or chicken (165°F/74°C).
Can I add herbs or spices to the salt crust?
Yes! Mixing fresh herbs like rosemary, thyme, or spices like peppercorns, fennel seeds, or citrus zest into the salt mixture before forming the crust can infuse subtle aromas into the steam and add another layer of flavor.
Conclusion: Unlock Amazing Flavor with the Salt Trick Recipe
The “salt trick recipe,” or salt crust baking, is more than just a gimmick – it’s a fantastic technique for achieving exceptionally moist and flavorful results with minimal fuss. While it might seem intimidating initially, encasing fish, chicken, or vegetables in a simple salt shell creates a perfect cooking environment, locking in juices and ensuring even cooking.
It’s a method that delivers both incredible taste and a show-stopping presentation. So next time you want to truly impress, remember this guide, grab a box of coarse salt, and try the magic of the salt trick recipe for yourself!
Ready to try it? Share your salt crust baking results in the comments below!